Microsoft Security Essentials
Microsoft Security Essentials Tutorial
The first thing you need to do is download Microsoft Security Essentials from our download page.
Scroll down and click Microsoft Security Essentials. You will be prompted to "Run" or "Save" file. Select "Save" and save file to your desktop.
The file you have downloaded will be named mssefullinstall-x86fre-en-us-vista-win7.exe or similar. To install Microsoft Security Essentials, all you have to do double-click on the file, select "Run" and the installation program will start . You can go with the default settings here and just click your way through the installer by using the Next button.

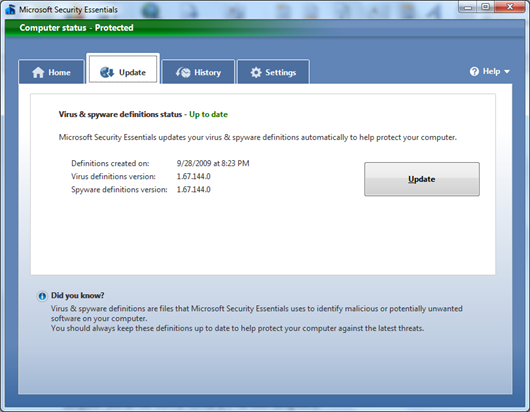
Microsoft Security Essentials will now automatically start and and update the program before performing a scan.
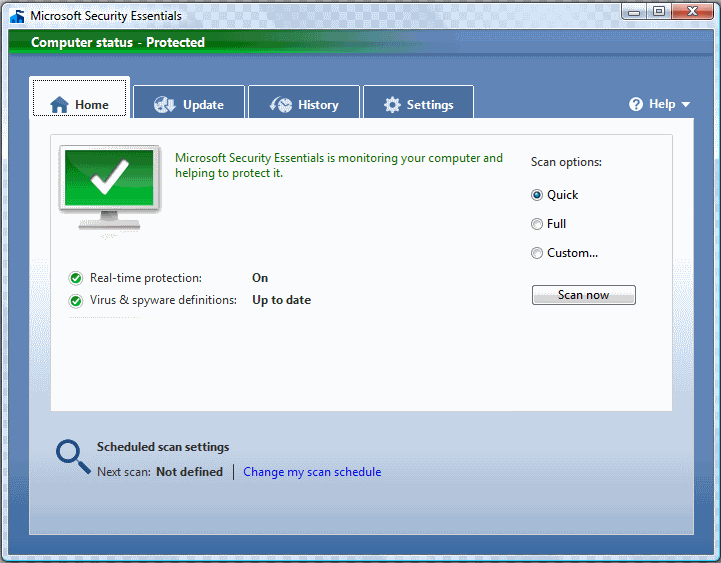
After the updating is completed, you will then need to click on the "Home" button to begin your scan. Make sure the the Full Scan option is selected and then click on the Scan button to start scanning your computer for infections.
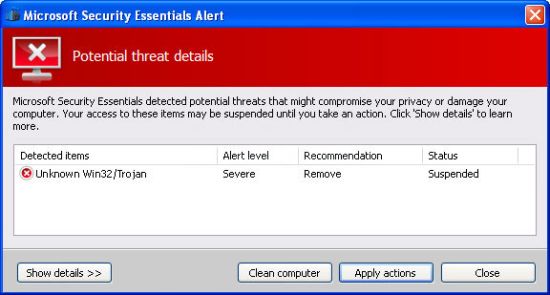
If threats are found, the item will either be removed or quarantined. Select "Clean Computer" to fix problems.
Please be sure to review each item that has been presented in the results screen before removing them. Microsoft Security Essentials is designed to find and quarantine possible suspicious content present on your system and to allow you a simple method for removing it should you so decide. We do not suggest or recommend that everything detected by Microsoft Security Essentials should be removed; it is up to you the user to make that decision.
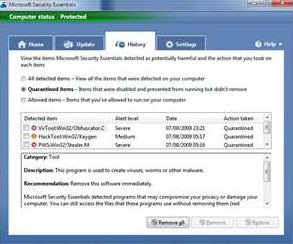
Once your computer has been cleaned click on the History Tab across the top. It will show you what has been quarantined or removed. Click on the quarantined button to show what has been quarantined. Then click the remove all button to permanently removed these files.

Cresco, IA 52136
(563) 547-3162 - Phone
(563) 547-2133 - Fax